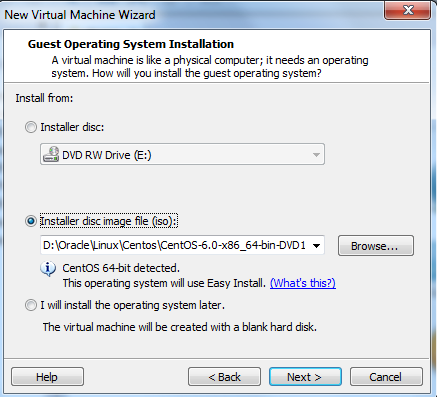
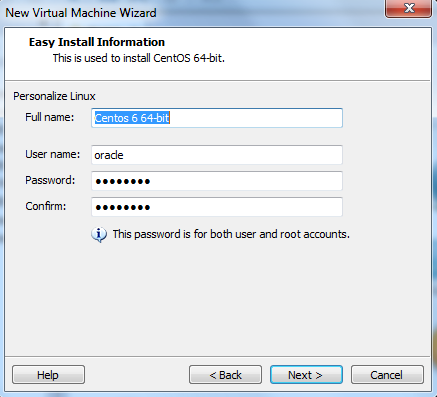
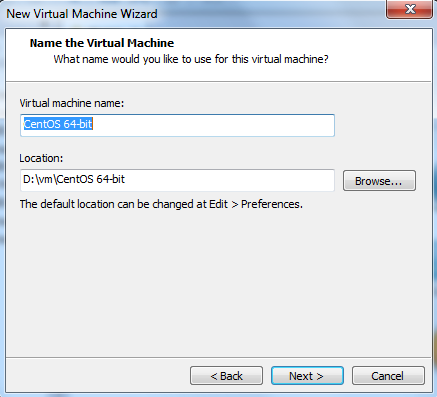
Create VM:


Install system-config-services:


Setup Korn Shell:

Add Group dba.
Change login shell for user oracle to /bin/ksh.
Add group dba for user oracle.
Assign dba as primary group for user oracle.
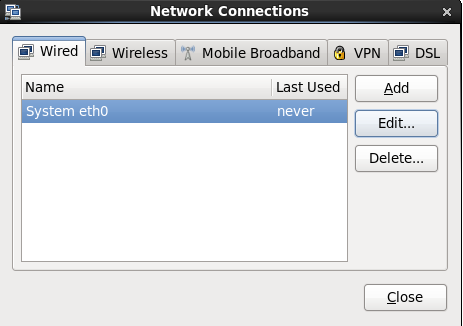
Setup network connection:


Add the following lines in /etc/hosts
# Public
192.168.94.3 rac1.localdomain rac1
192.168.94.4 rac2.localdomain rac2
#Private
192.168.40.2 rac1-priv.localdomain rac1-priv
192.168.40.3 rac2-priv.localdomain rac2-priv
#Virtual
192.168.96.111 rac1-vip.localdomain rac1-vip
192.168.96.112 rac2-vip.localdomain rac2-vip
# SCAN
192.168.96.201 rac-scan.localdomain rac-scan
Change the hostname
[root@localhost Desktop]# hostname rac1
[root@localhost Desktop]# cat /etc/sysconfig/network
NETWORKING=yes
HOSTNAME=rac1
Add or amend the following lines to the "/etc/sysctl.conf" file.
fs.aio-max-nr = 1048576
fs.file-max = 6815744
kernel.shmall = 2097152
kernel.shmmax =1403885568
kernel.shmmni = 4096
# semaphores: semmsl, semmns, semopm, semmni
kernel.sem = 250 32000 100 128
net.ipv4.ip_local_port_range = 9000 65500
net.core.rmem_default=262144
net.core.rmem_max=4194304
net.core.wmem_default=262144
net.core.wmem_max=1048586
Run the following command to change the current kernel parameters.
/sbin/sysctl -p
Add the following lines to the "/etc/security/limits.conf" file.
oracle soft nproc 2047
oracle hard nproc 16384
oracle soft nofile 1024
oracle hard nofile 65536
Add the following lines to the "/etc/pam.d/login" file, if it does not already exist.
session required pam_limits.so
Disable secure linux by editing the "/etc/selinux/config" file, making sure the SELINUX flag is set as follows.
SELINUX=disabled
Alternatively, this alteration can be done using the GUI tool (System > Administration > Security Level and Firewall). Click on the SELinux tab and disable the feature.
To install Oracle 10g
Changed /etc/redhat-release to reflect: ‘Red Hat Enterprise Linux ES release 4 (Nahant Update 3)’
Installed libXp.s0.6: ‘yum install libXp.so.6′ (as root of course).
The following packages are required for EM 11g
yum install compat-db-*
yum install compat-libstdc++-296*
yum install rng-utils-2*
yum install setarch-2*
yum install tunctl-1.5-3* (Redhat kernel-utils-2.4*)
The following packages are required for Grid 11g
yum install binutils-2.*
yum install compat-libstdc++-33*
yum install elfutils-libelf-0.*
yum install elfutils-libelf-devel-*
yum install gcc-4.*
yum install gcc-c++-4.*
yum install glibc-2.*
yum install glibc-common-2.*
yum install glibc-devel-2.*
yum install glibc-headers-2.*
yum install ksh-2*
yum install libaio-0.*
yum install libaio-devel-0.*
yum install libgcc-4.*
yum install libstdc++-4.*
yum install libstdc++-devel-4.*
yum install make-3.*
yum install sysstat-7.*
yum install unixODBC-2.*
yum install unixODBC-devel-2.*
yum install pdksh*
yum install libaio-devel
yum install compat-libstdc++-33
yum install elfutils-libelf-devel
yum install gcc-c++
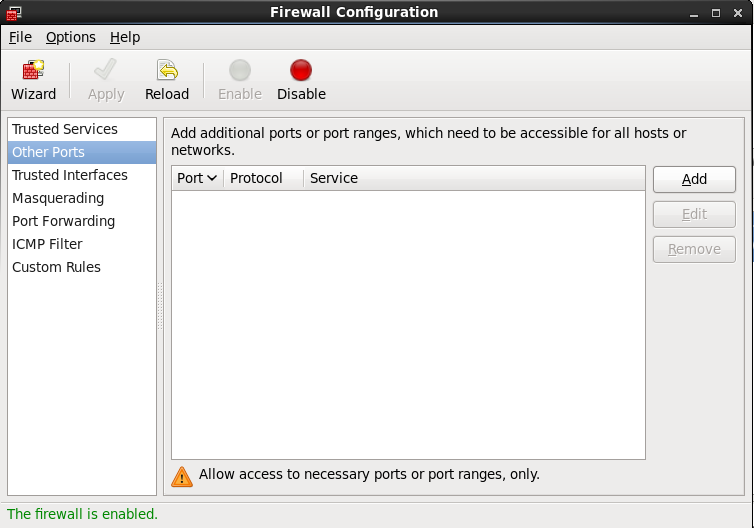
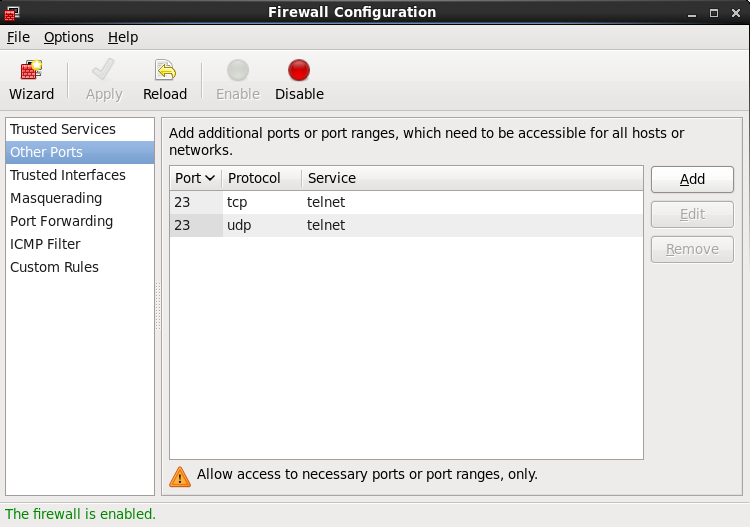
Enable Telnet:
Install telnet-server package and enable telnet in firewall options:

Enable xinetd and Telnet service:

Enable Telnet in firewall and restart xinetd service:

Enable Ftp:
Install vsftpd-2.2.2-6-el6 package and enable FTP in firewall options:


Enable and Start vsftpd:
Or Enable vsftp on start-up:chkconfig vsftpd on
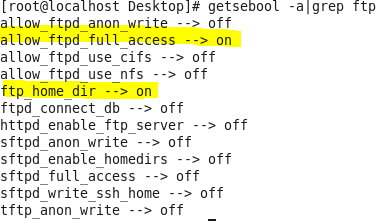
Check SELinux setting: getsebool -a|grep ftp

Enable allow_ftpd_full_access and ftp_home_dir:
setsebool -P allow_ftpd_full_access 1
setsebool -P ftp_home_dir 1
Install Oracle Linux Kernal:
(NOT Required) wget http://public-yum.oracle.com/repo/OracleLinux/OL6/1/base/x86_64/kernel-firmware-2.6.32-131.0.15.el6.noarch.rpm
(NOT Required) wget http://public-yum.oracle.com/repo/OracleLinux/OL6/1/base/x86_64/kernel-2.6.32-131.0.15.el6.x86_64.rpm
wget http://public-yum.oracle.com/repo/OracleLinux/OL6/1/base/x86_64/kernel-uek-2.6.32-100.34.1.el6uek.x86_64.rpm
wget http://public-yum.oracle.com/repo/OracleLinux/OL6/1/base/x86_64/kernel-uek-devel-2.6.32-100.34.1.el6uek.x86_64.rpm
wget http://public-yum.oracle.com/repo/OracleLinux/OL6/1/base/x86_64/kernel-uek-firmware-2.6.32-100.34.1.el6uek.noarch.rpm
wget http://public-yum.oracle.com/repo/OracleLinux/OL6/1/base/x86_64/kernel-uek-headers-2.6.32-100.34.1.el6uek.x86_64.rpm
wget http://public-yum.oracle.com/repo/OracleLinux/OL6/1/base/x86_64/oracleasm-support-2.1.5-1.el6.x86_64.rpm
(NOT Required) rpm -Uvh kernel-firmware-2.6.32-131.0.15.el6.noarch.rpm
rpm -Uvh kernel-2.6.32-131.0.15.el6.x86_64.rpm
rpm -Uvh *uek*rpm
rpm -Uvh oracleasm-support-2.1.5-1.el6.x86_64.rpm


Shutdown OS and add 3 more disks, 20G each, SCSI 0:1,0:2,0:3:

Change the contents of .vmx:
disk.locking = "FALSE"
diskLib.dataCacheMaxSize = "0"
diskLib.dataCacheMaxReadAheadSize = "0"
diskLib.dataCacheMinReadAheadSize = "0"
diskLib.dataCachePageSize = "4096"
diskLib.maxUnsyncedWrites = "0"
scsi0.sharedBus = "VIRTUAL"
scsi0:1.writeThrough = "TRUE"
scsi0:2.writeThrough = "TRUE"
scsi0:3.writeThrough = "TRUE"
scsi0:1.redo = ""
scsi0:2.redo = ""
scsi0:3.redo = ""
scsi0:1.deviceType = "disk"
scsi0:2.deviceType = "disk"
scsi0:3.deviceType = "disk"
Create an ext4 filesystem:
[root@localhost Desktop]# fdisk /dev/sdb

[root@localhost Desktop]# mkfs.ext4 /dev/sdb1

[root@localhost ~]# mkdir /orasw
[root@localhost ~]# e2label /dev/sdb1 /orasw
[root@localhost ~]# vi /etc/fstab
[root@localhost Desktop]# cat /etc/fstab

[root@localhost Desktop]# df -h

[root@localhost Desktop]# chown -R oracle:dba /orasw
[root@localhost Desktop]# fdisk /dev/sdc

[root@localhost Desktop]# mkfs.ext4 /dev/sdc1

[root@localhost Desktop]# mkdir /u01
[root@localhost Desktop]# e2label /dev/sdc1 /u01

[root@localhost Desktop]# mount /u01

[root@localhost Desktop]# chown -R oracle:dba /u01
Create a Raw disk:
[root@localhost Desktop]# fdisk /dev/sdd

Configure ASMLib using the following command:
[root@localhost Desktop]# oracleasm configure -i

Load the kernel module using the following command:

Mark the disks as follows:
[root@localhost Desktop]# oracleasm createdisk DISK1 /dev/sdd1

Scan disks:

If you installed the updates, you need to download the newest ASMlib .
After the new driver is installed, you need to run “oraclsasm init”:

To check the Kernel version: uname -r
Change tmp folder:
mkdir /orasw/tmp
chmod 777 /orasw/tmp
Edit .profile, add the following contents:
export TMP=/orasw/tmp
export TMPDIR=/orasw/tmp
export ORACLE_BASE=/orasw/app/oracle
export ORA_CRS_HOME=/orasw/app/oracle/grid/11.2.0
export ORACLE_HOME=$ORACLE_BASE/product/11.2.0
export ORACLE_SID=testdb
export ORACLE_TERM=xterm
export PATH=/usr/kerberos/sbin:/usr/kerberos/bin:/usr/local/sbin:/usr/local/bin:/sbin:/bin:/usr/sbin:/usr/bin:/usr/X11R6/bin:/root/bin:$ORACLE_HOME/bin:$ORA_CRS_HOME/bin
export LD_LIBRARY_PATH=$ORACLE_HOME/lib:/lib:/usr/lib
export CLASSPATH=$ORACLE_HOME/JRE:$ORACLE_HOME/jlib:$ORACLE_HOME/rdbms/jlib
export EDITOR=vi
export PS1='[$ORACLE_SID] $PWD >'
. oraenv
if [ $USER = "oracle" ]; then
if [ $SHELL = "/bin/ksh" ]; then
## see SR: http://kb.dbatoolz.com/tp/2965.etc-profile57_ulimit_pipe_is_read_only.html
##ulimit -p 16384
ulimit -u 16384
ulimit -n 65536
else
ulimit -u 16384 -n 65536
fi
umask 022
fi
Enable port 1521 in firewall:

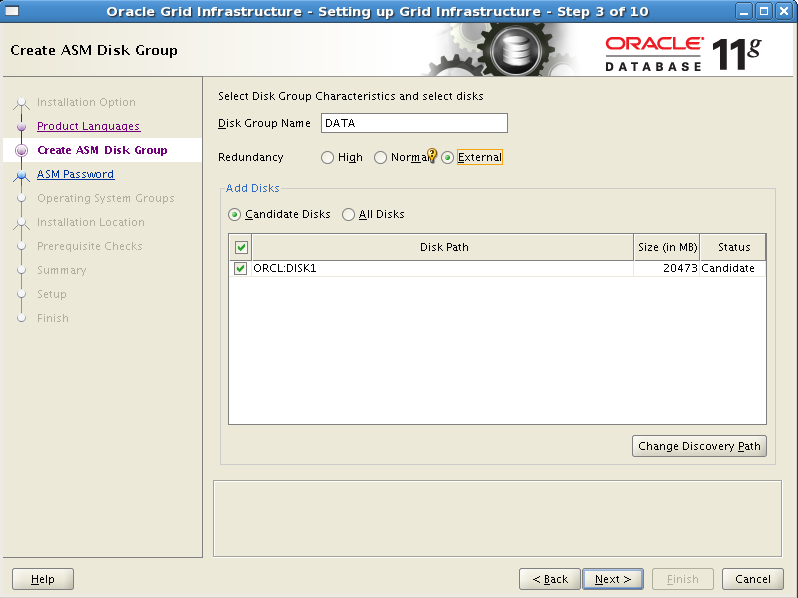
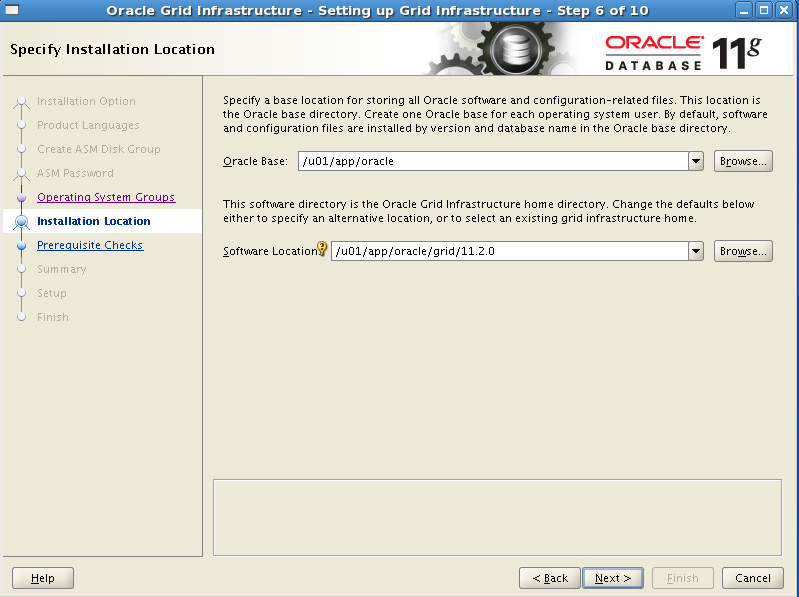
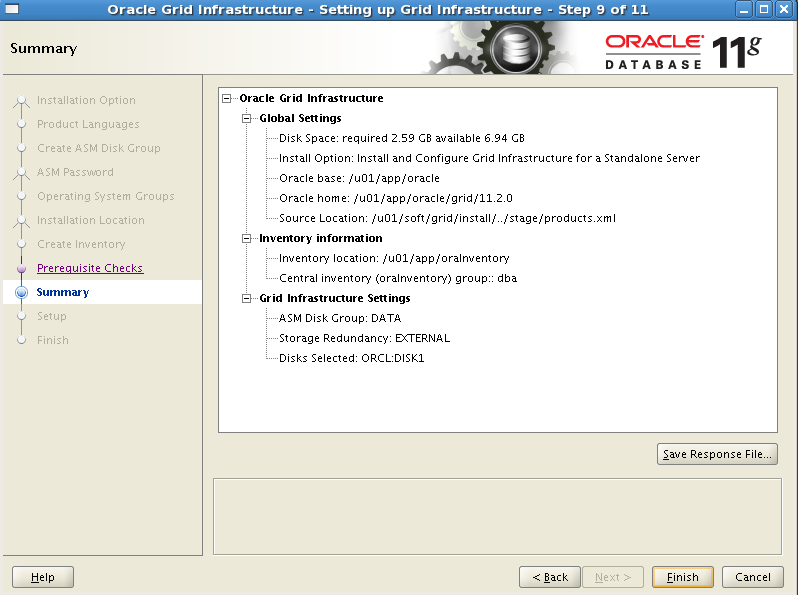
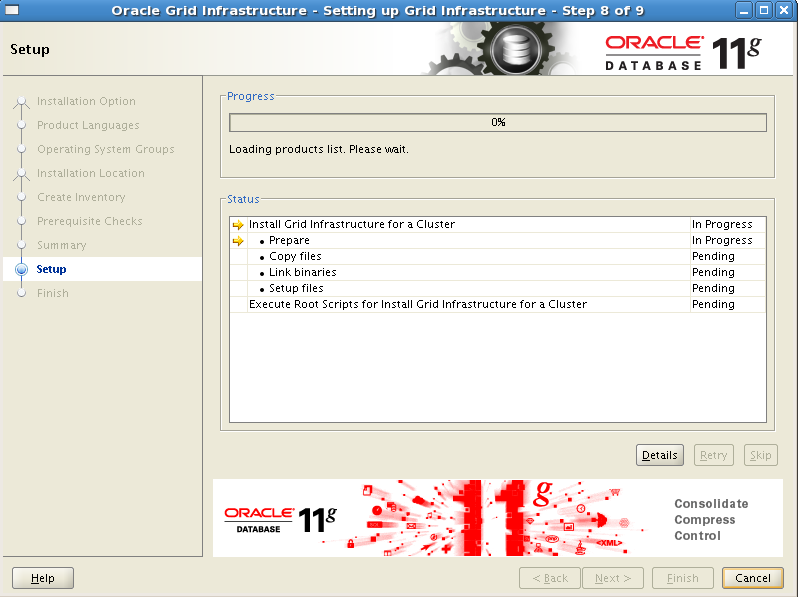
Install Oracle Grid Software:
Disable IPv6(Optional):
Remove the following line in /etc/hosts:
::1 localhost6.localdomain6 localhost6


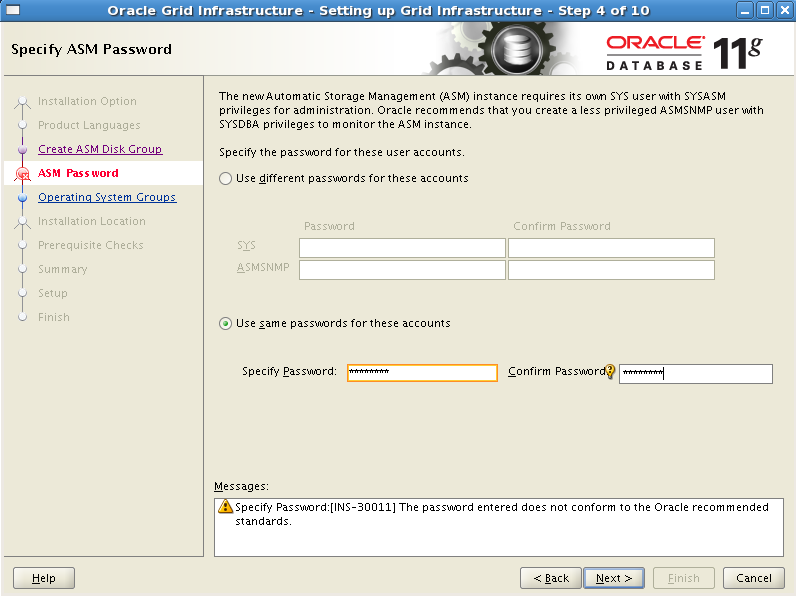


After message “Creating trace directory” press Enter for 3 or more times.


Modify /etc/oratab to make ASM instance started automatically:
+ASM:/u01/app/oracle/grid/11.2.0:Y
If you want to use asmcmd or sqlplus on ASM instance, remember to export ORACLE_HOME to the asm HOME (/u01/app/oracle/grid/11.2.0)
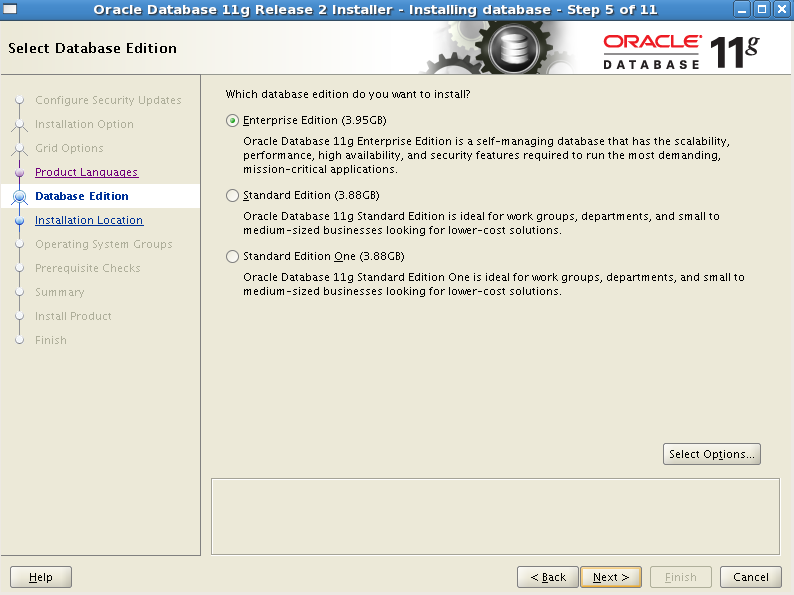
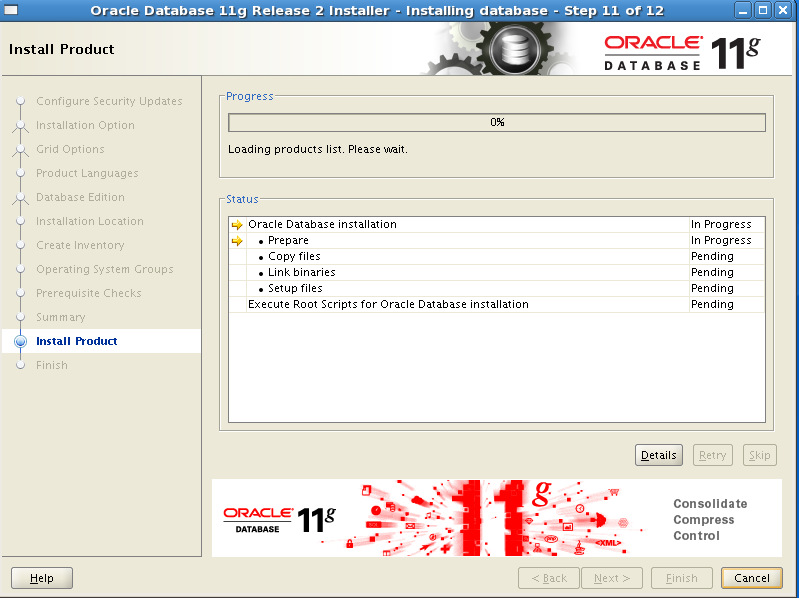
Install Oracle Software:


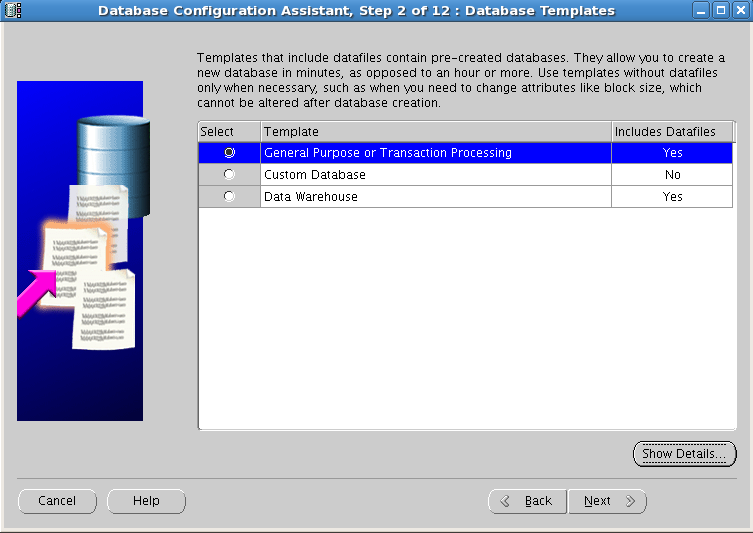
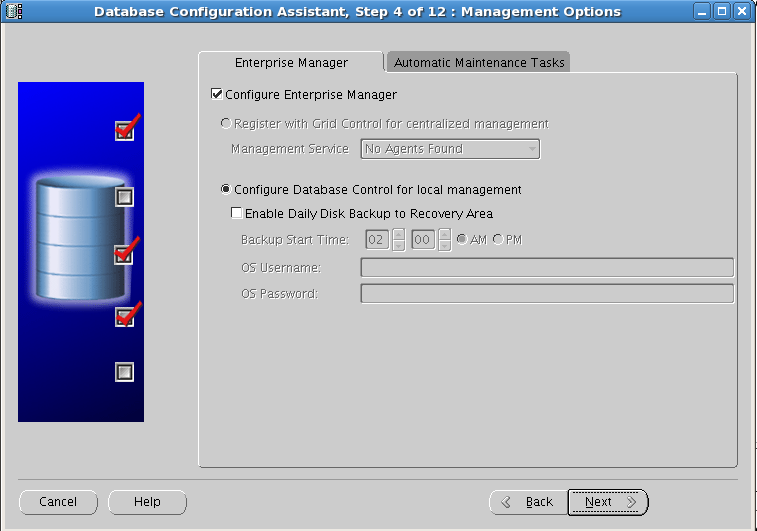
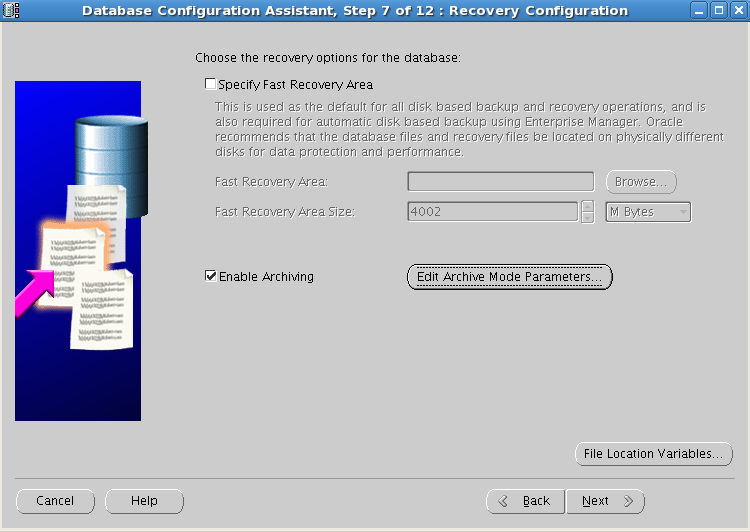
Create database with dbca:


Stop and start database and services
1. Start:


2. Stop:


Srvctl stop diskgroup –g DATA
No comments:
Post a Comment